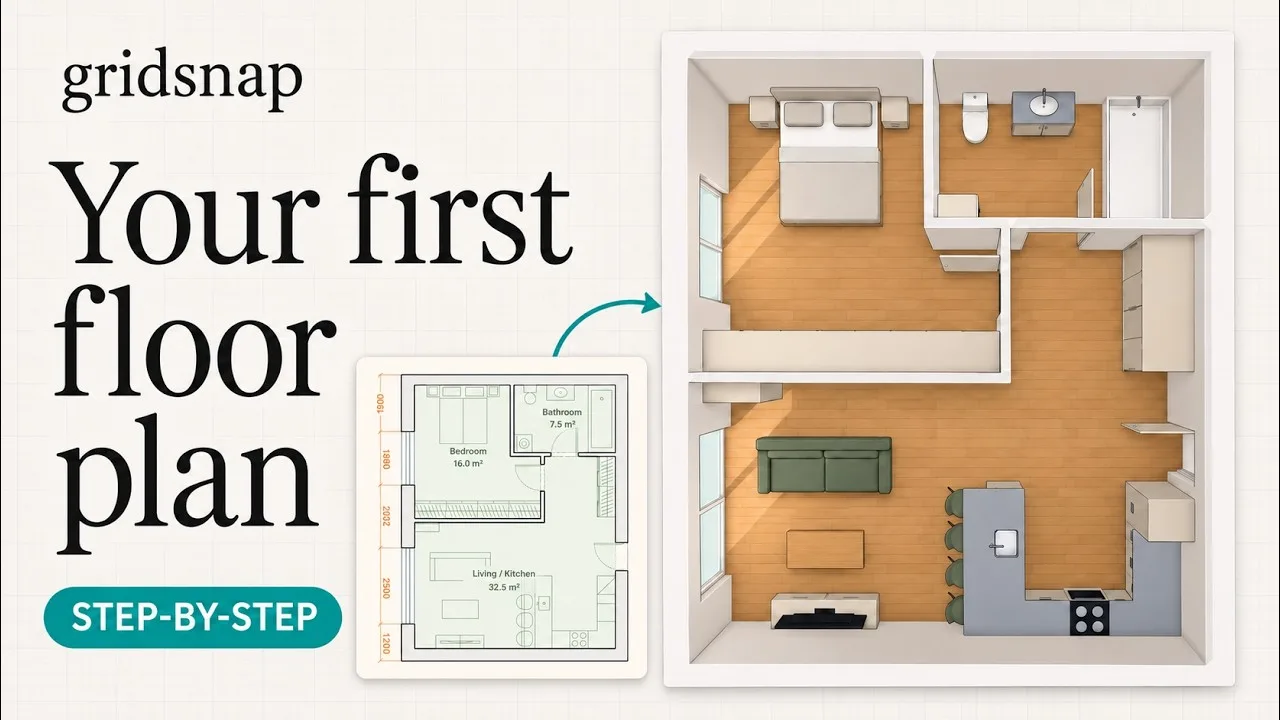
Press D for a door or N for a window, pick a type in the panel on the right, and click the wall where it goes. A preview slides along the wall as you move, so you can see the opening before you commit. A door then wants a second click: move the cursor to the side it should open to and click again.
Adding a door
- Press D, or click Door in the toolbox.
- Choose a type in the panel if you don’t want a single hinged door. See door types.
- Move over a wall. The preview cannot hang off the end of the wall, and within 100 mm of the right spot it snaps hard against a wall joining from the side or the frame of another opening. That is the position you almost always want next to a partition.
- Click to fix its position.
- Move the cursor. The side of the wall it is on picks the swing, and the half of the door it is nearer picks the hinge end.
- Click again, or press Enter, to place it. Esc cancels.
The panel offers the same choice as buttons while the door waits, if you would rather click than aim:
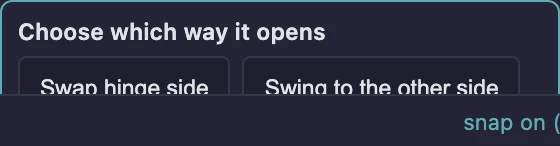
The tool stays on after you place a door, so you can carry on along the plan. Press Esc when you are done, or untick Keep placing in the panel to stop after one.
Door types
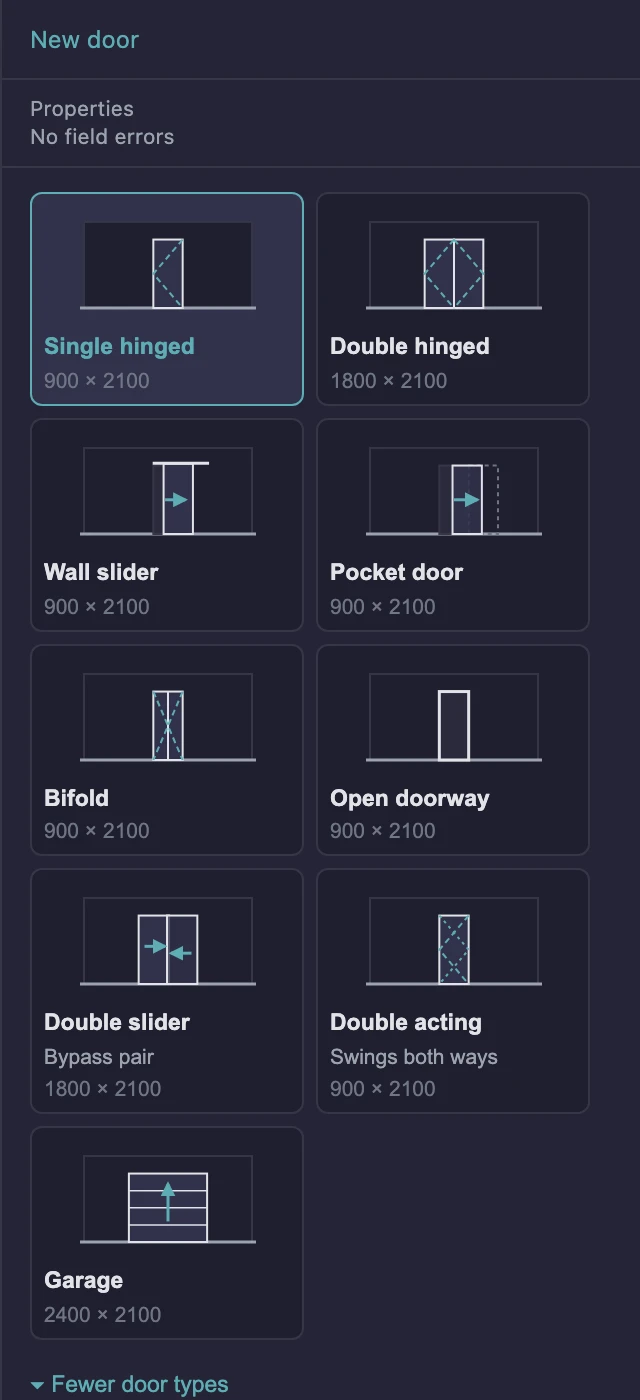
| Type | What it is | Starts at |
|---|---|---|
| Single hinged | One leaf on hinges | 900 × 2100 |
| Double hinged | A pair of leaves meeting in the middle, both swinging the same way | 1800 × 2100 |
| Wall slider | One panel on a track on the wall face, sliding past the opening | 900 × 2100 |
| Pocket door | One panel that slides into a cavity inside the wall | 900 × 2100 |
| Double pocket | Two panels meeting in the middle, each sliding into the wall on its own side | 1800 × 2100 |
| Bifold | A folding pair that stacks back against one jamb | 900 × 2100 |
| Open doorway | A cased passage with no leaf | 900 × 2100 |
| Double slider | Two panels on parallel tracks that slide over each other | 1800 × 2100 |
| Double acting | One leaf on spring hinges that swings both ways | 900 × 2100 |
| Garage | A sectional door that opens overhead | 2400 × 2100 |
An Open doorway has nothing to swing, so it takes one click and stops there. A Double pocket is the same from both sides, so it takes one click too. It needs clear straight wall on both sides of the opening for its panels. Plan check still counts it as a way between two rooms.
Below the cards you can set Width, Height, Leaf (Solid, Glazed panel or All glass) and Frame (Painted, Wood, uPVC, Aluminium or Steel). They apply to the next door you place, and Reset preset puts the type’s own values back.
Adding a window
A window takes one click, because there is nothing to orient.
- Press N, or click Window in the toolbox.
- Choose a type and change its size in the panel if you need to.
- Click the wall.
Window types
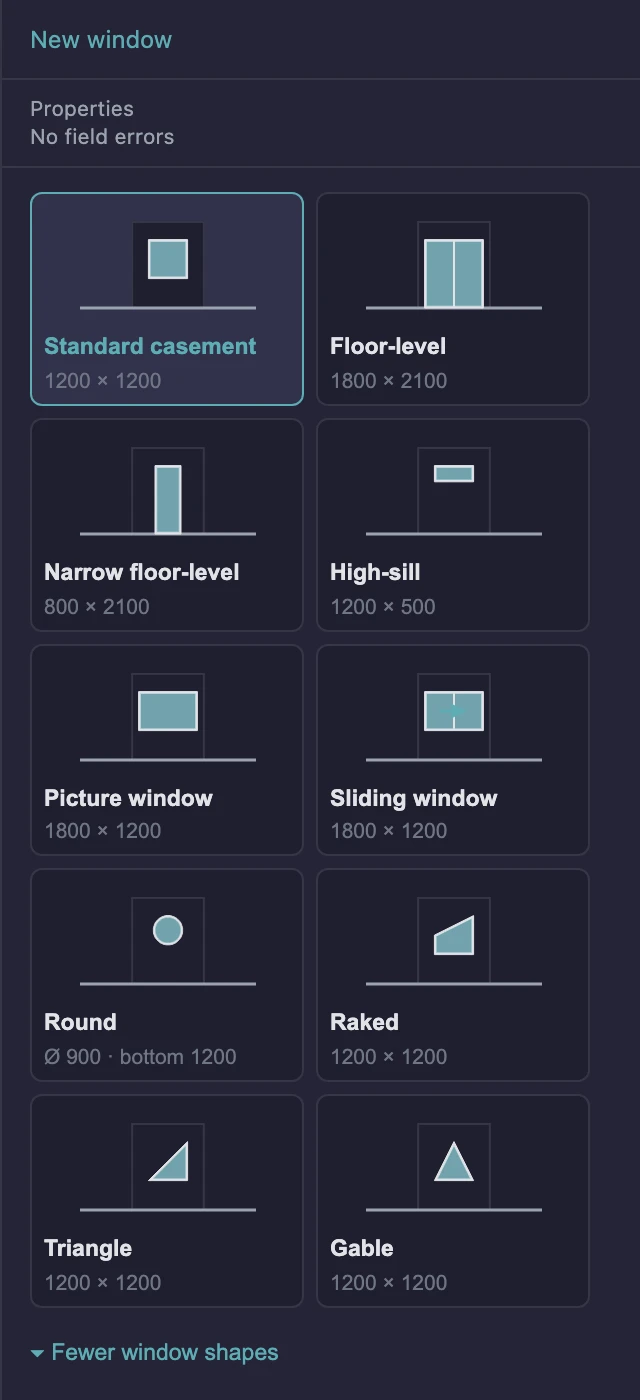
Standard casement starts at 1200 wide and 1200 high, with its bottom 900 mm above the floor and its top at 2100 mm, in line with the doors. The others are starting points for common jobs: Floor-level for a garden window, Narrow floor-level for a sidelight, High-sill for privacy over a bath or worktop, a fixed Picture window, a Sliding window, and the four shaped windows below.
Shaped windows
Round, Raked, Triangle and Gable are fixed panes. The wall opening, the frame, the glass and the 3D all follow the shape.
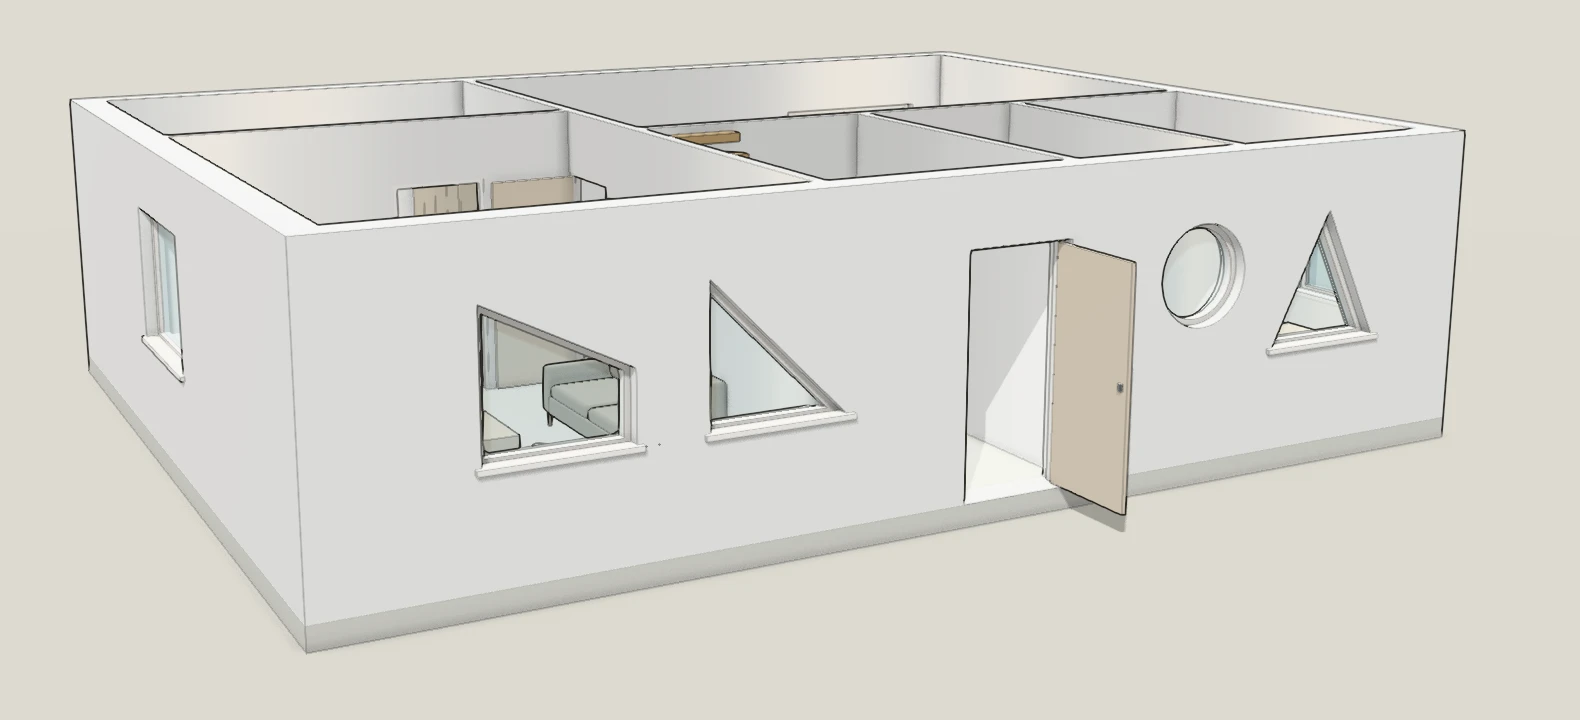
To change the shape of a window you already placed, select it and pick one in the Shape row. If there is a roof over the window, Match roof… fits its top to the roof, leaving the clearance you set.
Placing them in 3D
The same tools work in the 3D view, with the same panel. Press D or N and point at a wall on the current floor. The preview follows the wall, and the height of your cursor changes nothing.
When an opening is refused
If an opening can’t go where you are pointing, the preview says why at the cursor, and clicking does nothing:
- It is too wide for the wall.
- It would cut into a door, window or cut-out already in that wall.
- It is taller than the wall can take there.
Move along the wall or change the size in the panel. A window can’t go in a glass partition at all.
Moving and resizing one afterwards
Select it with V. Two handles appear on its jambs.
- Drag the opening to slide it along its wall. It snaps against the end of the wall and against neighbouring openings.
- Drag a jamb handle to change the width. The other jamb stays where it is.
In the 3D view, a selected opening carries its handles on the face of its wall: a grip in the middle moves it (a window also up and down), and its jambs, its head and a window’s bottom resize it. Pressing on the opening itself only selects it, so looking around can’t shift it by accident.
To remove one, select it and press Delete or Backspace.
Changing a door
Select a door and the panel shows:
- Width (300 to 6000 mm), Height (500 to 3000 mm) and Variant, which changes the type.
- Leaf and Frame depth, the thicknesses of the two. They start at 40 mm and 92 mm.
- In wall: where the door sits across the wall. Centred, Flush, swing side or Flush, other side.
- Flip buttons, which depend on the type. A hinged door has Flip swing and Flip hinge. A sliding door has Flip track side (the wall face the panel hangs on) and Flip slide side (the jamb it parks beyond). The plan shows both: the panel sits on the track side, and its parked run is dashed past the jamb.
- Frame type, Glass in door, and Open in 3D with Open fully, which decide how the leaf stands in the 3D view.
- Finish: the colours or materials of the frame, the door leaf and the handle. These change how it looks, not the plan or the schedules.
A door in a wall that spans two levels gets one more row, Threshold: which floor the door is measured from, and whether a step down is generated on the low side. Split levels covers the three settings.
Changing a window
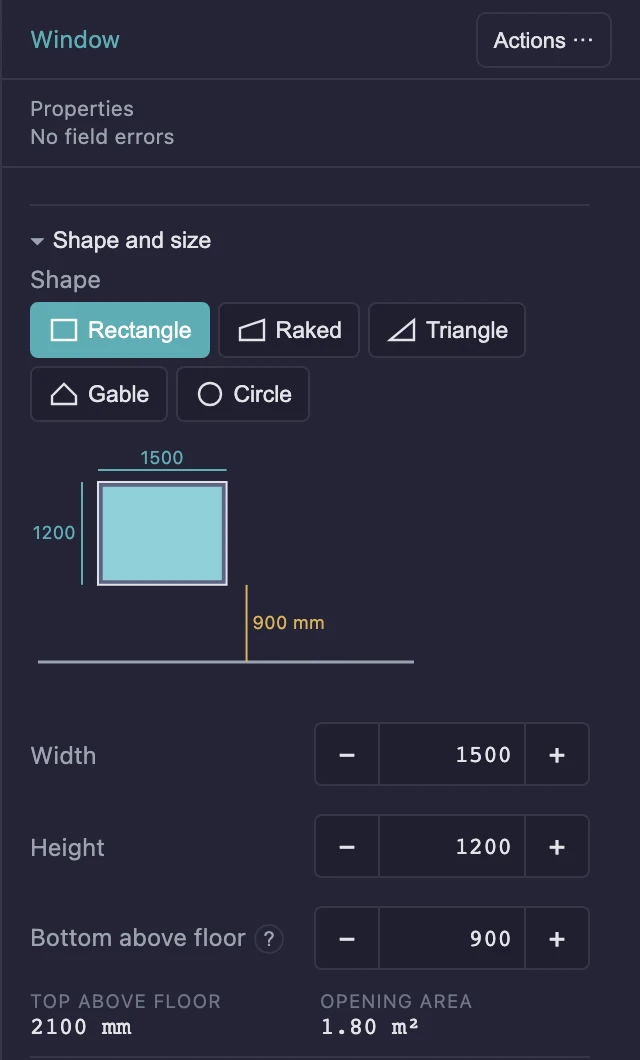
Select a window and the panel shows:
- Shape, then Width, Height and Bottom above floor (the sill). A round window has a Diameter instead, and its bottom is measured to the lowest point of the circle.
- Opens: Casement, Sliding or Fixed. A sliding window has Flip slide side, which swaps the sash that moves. An arrow on the plan shows which one it is and where it parks. It stays in the editor and is not printed.
- Panes: Auto, Full glass, Divided in 2, Divided in 3, Divided in 2 (horizontal) or Divided in 4 (cross). Auto adds a centre division once a rectangular window is wider than 1.5 m.
- Glass, and Matt (frosted).
- Frame type, Frame width and Frame depth, with In wall and Glass in frame for where the frame and the glass sit across the wall.
- Cill: switches the Inside window board and the Outside weathering cill on or off. ⚙ Settings has the default for the whole project, because that is a construction convention more than a decision per window.
- Open in 3D, for a window that opens, and Finish, for the outside and the inside of the frame.
The Corner row turns a window near a corner into a corner window.
Corner windows
A corner window has glass on both walls of a corner, meeting with no post between them.
- Put a window on one wall, near the corner.
- Select it, and click Make corner in the properties panel.
A second window appears on the other wall, and the two meet at the corner in the plan, 3D, sections and elevations.
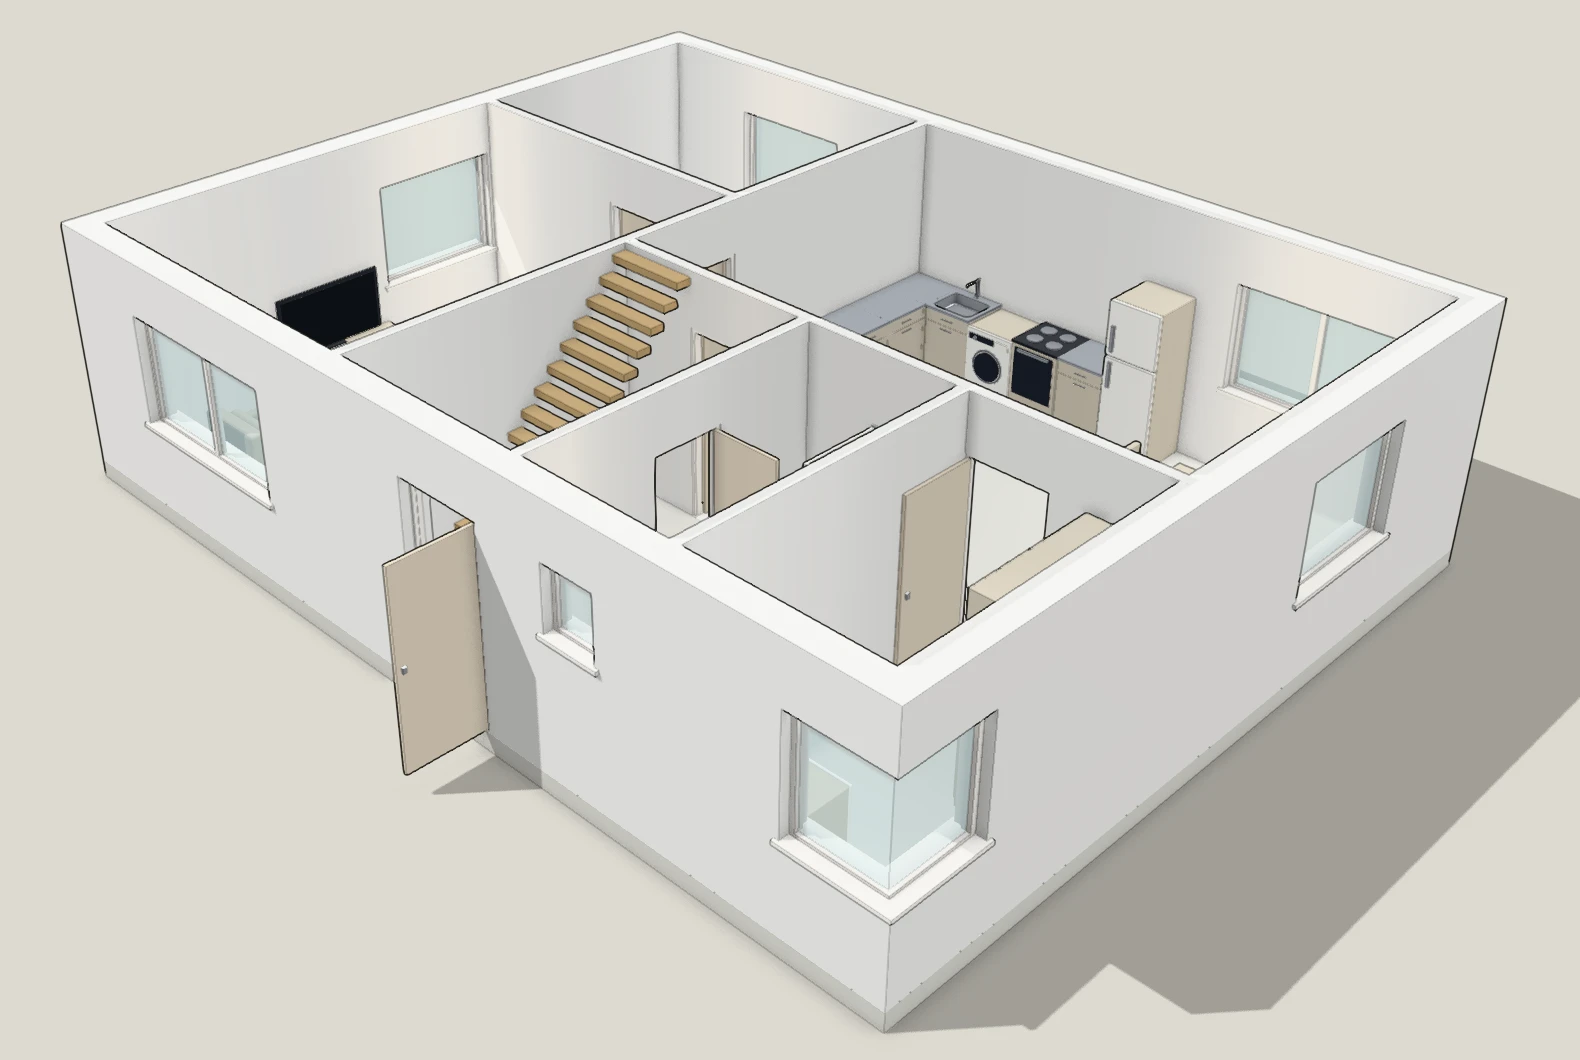
If you already drew a window close to the corner on the other wall, it joins in, keeping its own width and taking the selected window’s heights. Separate puts the wall back at the corner, and Make corner restores the same pair.
If the button is greyed out, its tooltip says why. It needs a rectangular window that isn’t sliding, on a corner where exactly two walls meet at between 45° and 160°. The glass is fixed, so the panel shows Fixed, full glass to the corner where Opens and Panes were.
A corner window counts as two windows, with two marks, in schedules, quantities and heat loss.
Openings live on the wall, not on the drawing
A door or a window belongs to its host wall and holds a position along it, so moving or lengthening the wall carries its openings with it. Deleting a wall deletes the openings in it. If a wall was split into two by an earlier edit, the tool still treats the straight run as one wall and will fuse the pieces when an opening lands across the seam.
What this doesn’t do
- Openings must not overlap. The tool refuses to place one over another, and
the plan check flags any that end up overlapping as
opening-overlapon the free tier, because the wall can’t be built that way. Touching is fine. - No bay windows or windows in a curved wall. A window sits in one straight wall, and a corner window is two of them.
- No corner doors. Only windows can turn a corner.
- A corner window’s support isn’t modelled. Glass carries nothing and there is no lintel or post in the model, so the plan check reminds you to sort out how the corner is held up.
- The default sizes are drawing defaults, not standards. They are what a new opening starts at, and every one of them is editable. For what sizes are normal, see the reference pages.